
Restoring Your Home: A Guide to Repairing Drywall and Flooring After Leaks
Discovering a water leak in your house is a homeowner's worst nightmare. Whether it is a burst pipe behind the walls, a malfunctioning appliance, or a subtle drip from an upstairs bathroom, water can cause extensive damage in a remarkably short amount of time. The initial shock of finding a puddle where there should be dry floor is quickly followed by a rush of questions about cost, timelines, and exactly how much needs to be torn out and replaced.
For families in FoCo and the surrounding areas, addressing water damage promptly and professionally is crucial to protecting your home's structural integrity and long-term value. Moisture that is left unchecked can lead to mold, compromised framing, and lingering odors. The good news is that with the right approach, a stressful disaster can be thoroughly resolved, leaving your living space looking as pristine as the day it was built.
In this guide, we will walk you through the essential steps for recovering from a leak, from the initial assessment to the final coat of paint, so you know exactly what to expect during the restoration process.
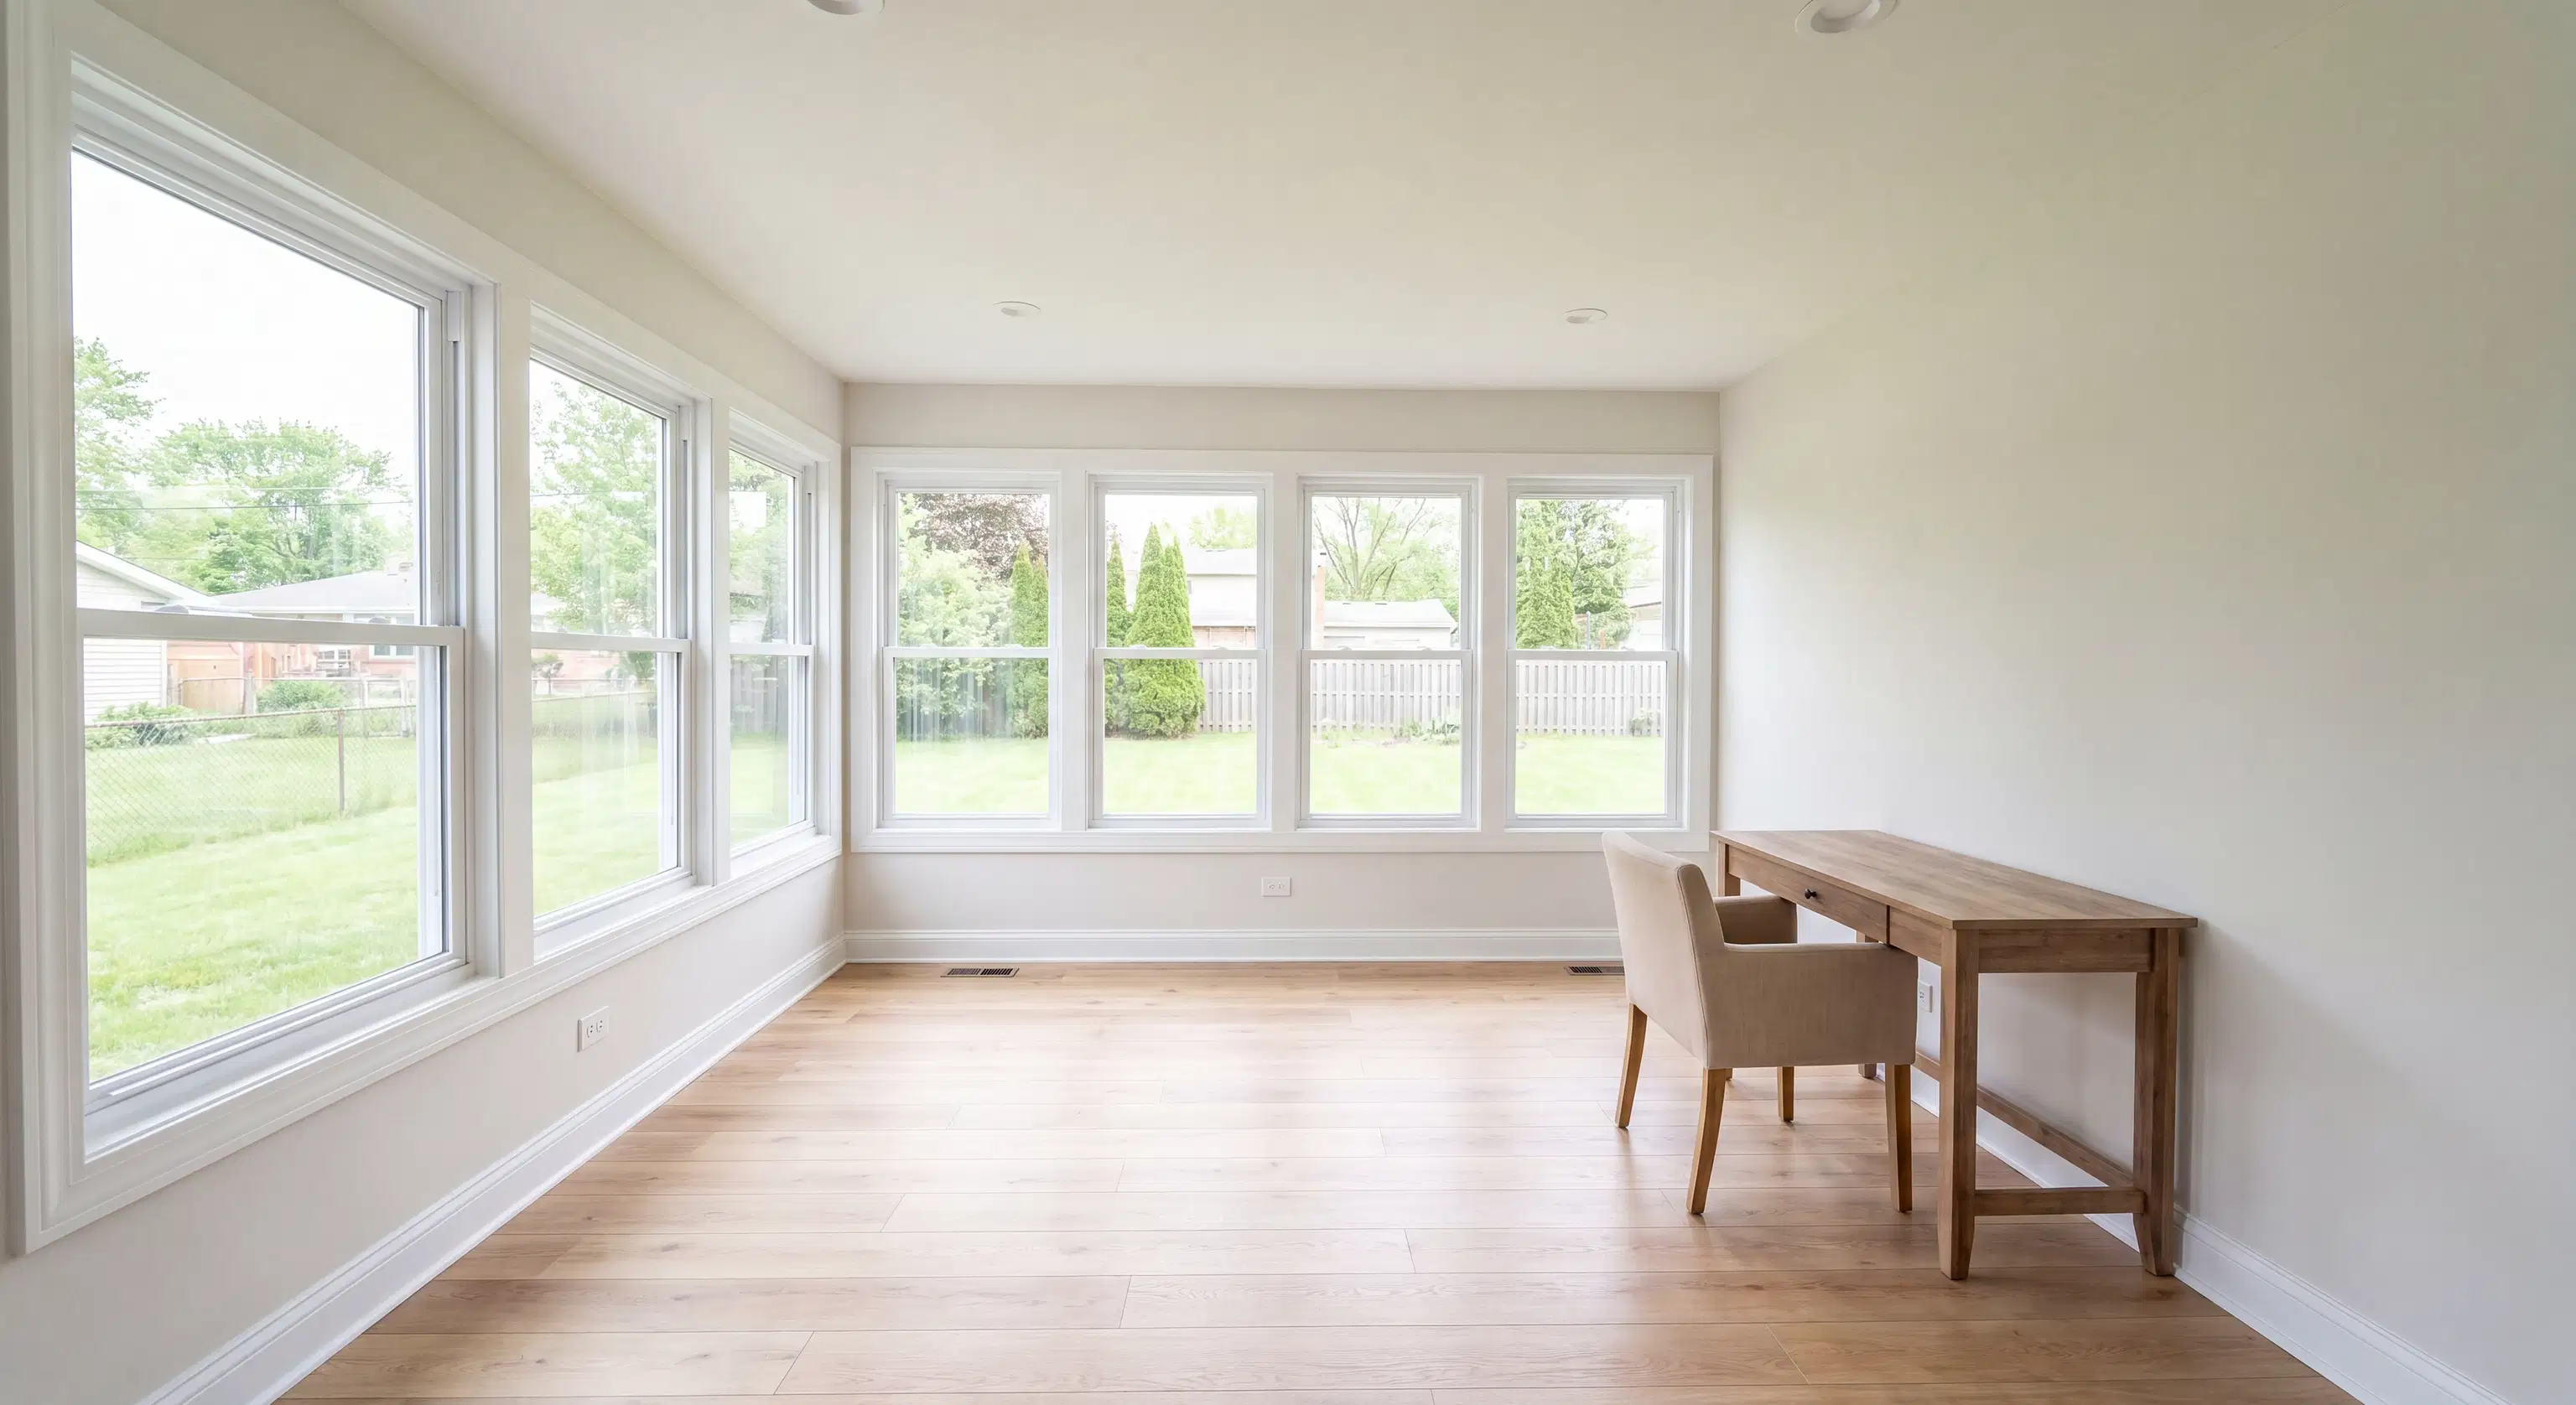
Step 1: Stopping the Source and Assessing the Damage
You cannot fix the aesthetics of a room until the root cause of the problem has been completely eliminated. Before any cosmetic work begins, it is imperative to identify exactly where the water is coming from and make the necessary plumbing corrections. Having a professional properly repair water fixtures ensures that you will not be facing the exact same issue a few months down the road.
Once the leak is stopped, the drying out process begins. Industrial dehumidifiers and fans are often brought in to remove moisture from the air, the framing, and the subfloor. This step cannot be rushed. Rushing to close up a wall or lay down new planks over a damp surface is a recipe for disaster. During this phase, your contractor will assess the extent of the damage to determine exactly how much material needs to be removed. Transparent communication during this stage is vital so you understand the scope of the project and the associated costs before the hammer swings.
Step 2: Restoring the Walls and Baseboards
Water wicks up through drywall like a sponge, destroying its structural integrity and creating a breeding ground for mildew. Many homeowners wonder how to fix water damaged ceiling drywall or wall panels. The standard practice involves cutting out the affected material entirely, usually going at least a foot beyond the visible water line to ensure only dry, healthy material remains.
Properly drywall repair requires precision. It is not just about slapping a patch over a hole; it involves securely fastening new drywall to the studs, taping the seams, and applying multiple coats of joint compound to create a perfectly flat surface.
Additionally, repairing drywall and baseboards after water leak incidents often means carefully removing trim work to assess the wall cavity behind it. If the baseboards are made of MDF (medium-density fiberboard), they will likely swell and need to be fully replaced. A skilled professional will ensure the new baseboards perfectly match the existing profile and seamlessly tie back into the rest of the room's trim.
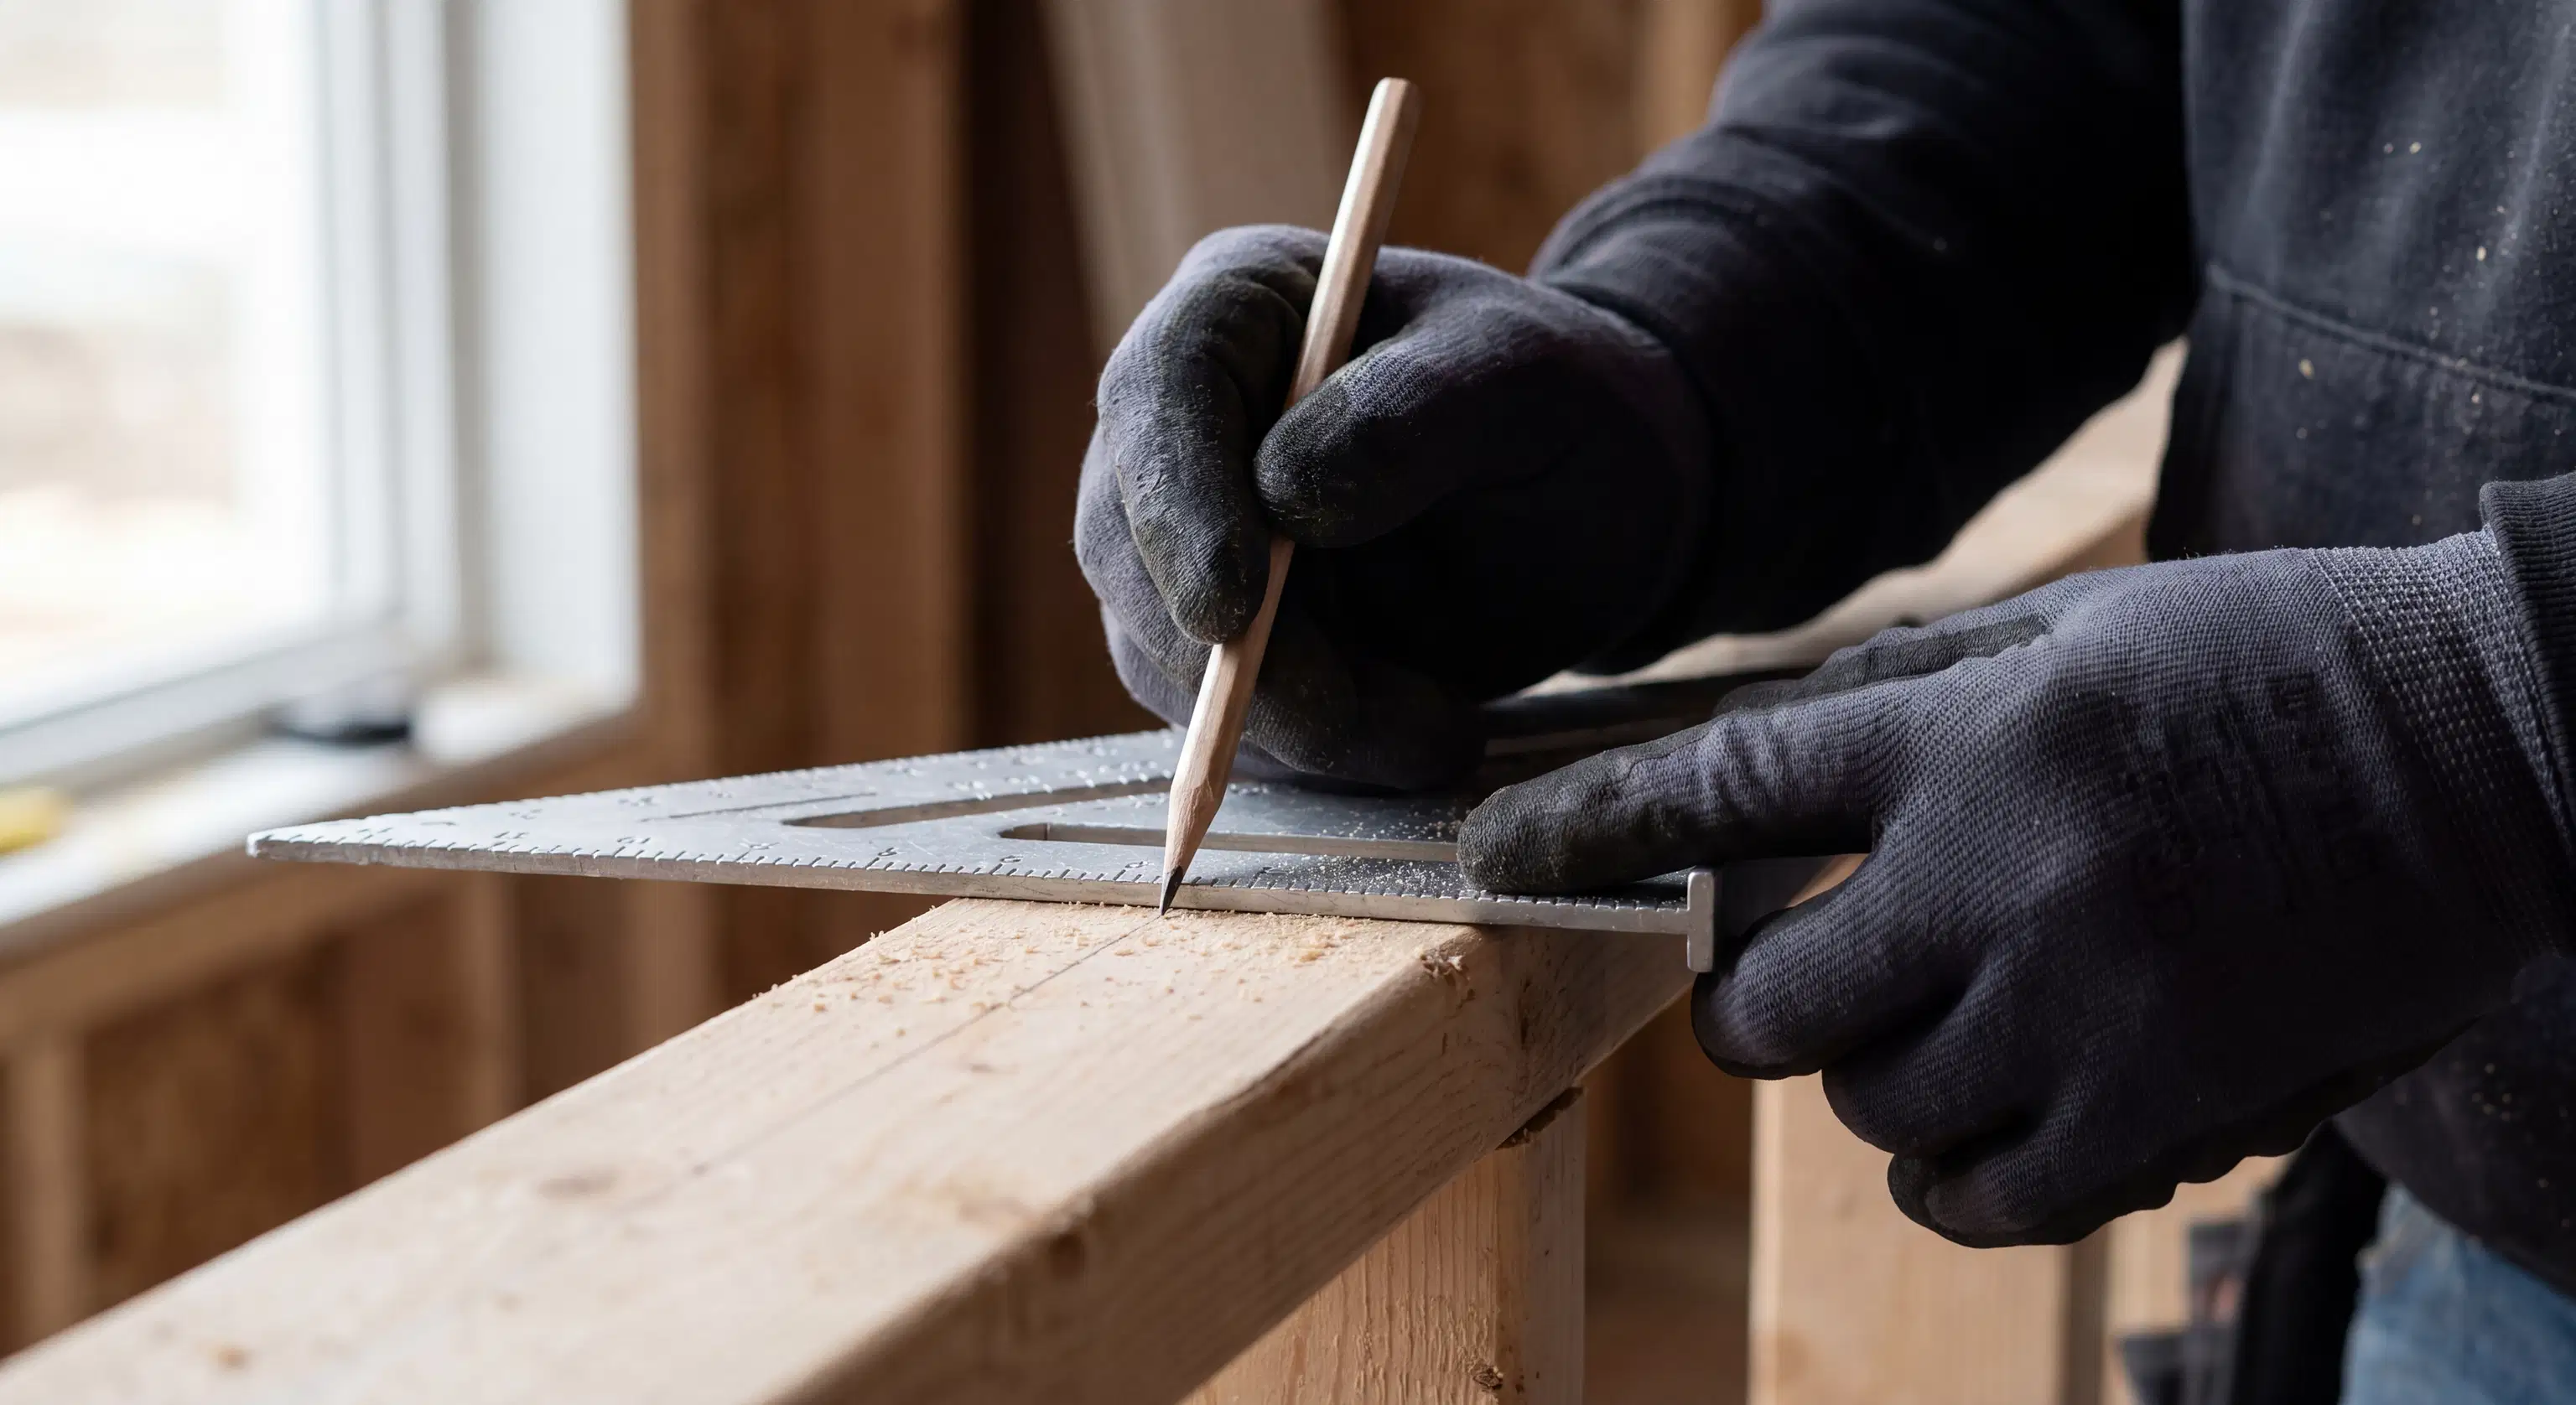
Step 3: Addressing the Subfloor and Flooring
Perhaps the most heavily impacted area during a plumbing failure is the floor. Water naturally pools at the lowest point, finding its way through floorboards and soaking into the structural subfloor below. This is incredibly common in homes near Lake Lanier and other established neighborhoods where original plumbing systems may be showing their age.
Handling subfloor water damage repair and flooring replacement requires a thorough structural evaluation. If the plywood or OSB subfloor has swelled, delaminated, or started to rot, it must be cut out and replaced. Laying beautiful new finishes over a compromised subfloor will result in squeaks, uneven surfaces, and eventual failure.
Once the foundation is solid, level, and completely dry, it is time to repair flooring. Whether you are lacing in new hardwood planks to match the original floor, laying down durable luxury vinyl plank (LVP), or installing fresh tile, the goal is to make the transition invisible. High-quality craftsmanship ensures that the new flooring not only looks stunning but can withstand the busy foot traffic of your family for years to come.
Moving Forward with Confidence
Recovering from a leak can feel overwhelming, but working with a reliable, professional team makes all the difference. Having a single point of contact who can handle the plumbing fixes, drywall replacement, and flooring installation streamlines the process, reduces delays, and minimizes the disruption to your daily life.
At Eckhardt Enterprises LLC, we pride ourselves on delivering top-tier craftsmanship with complete pricing transparency. We know that dealing with unexpected home repairs is frustrating, which is why we provide detailed estimates and maintain clear communication from the initial dry-out to the final walkthrough. We want you to feel confident in the quality of the work and the integrity of the materials being used in your home.
If you are dealing with the aftermath of a leak anywhere along the 400 Corridor and need experienced professionals to restore your space, we are here to help. Reach out to us through our contact us page to schedule a consultation and take the first step toward getting your home back to normal.